We have been having some technical difficulties that resulted in a change in hosting companies, so this post has been sitting around waiting for us to get up and running again.
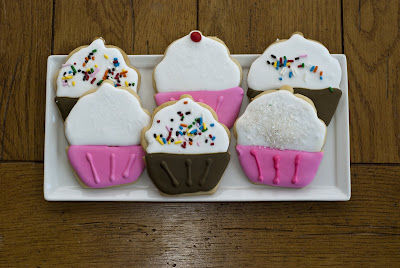
Yep… you read that right Cupcake
Cookies. Not cupcakes… although I do have to make cupcakes soon… it has been way to long. Anyway, I have been wanting to make some royal iced cookies for a while and when we were in Chicago in January we went into
Crate and Barrel and I found these cute
cupcake cookie cutters for under $3.00! I had to have them! I thought these were perfect for making some royal-iced cookies.
So, fast forward 2 months later and finally… since it was my mom’s birthday I thought I would make some cookies and send them to her.  One of the sites I really enjoy for all things royal-iced cookie is Sweetopia! I used a sugar cookie recipe from the site and the royal icing recipe that they recommend, which is originally from antonia74. Even though the sugar cookie dough recipe contains baking powder, Marion suggests not using any baking powder so the cookies don’t spread when they bake. I left it out and I was pretty happy with how my cookies came out (and tasted!) so I will never include baking powder in my sugar cookies. I also placed the cut-outs in the frdige for a while before placing them in the oven and I think that helps as well!
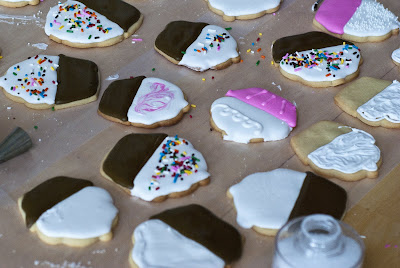
I made one batch of royal icing. I wasn’t sure if this would be enough, but I figured I could always make a second batch if I needed to. I figured I’d do the icing part of my cupcake cookie in white since I usually ice my cupcakes with cream cheese icing and then I would die the rest of the royal icing pink and brown. Not sure why I decided on pink, but I wanted an additional color and I think I had seen it on cookies similar to these somewhere and thought it looked good. I’m glad I only made one batch of icing because it was more than enough. I didn’t do anything too fancy. I did pipe some lines on the liner part of the cupcake after the main flooded section had dried, but that was the extent of my fanciness on these. I also sprinkled a variety of sugars and sprinkles on the white “icing.” Once again,
sweetopia has some great
tutorials on decorating with royal icing. I followed the direction there and didn’t use two different icing consistencies. I used the same icing for piping my outing and for flooding the inside. It made it much easier than trying to worry about having two consistencies of each color. That would have taken forever! I used a Wilton #3 tip for the piping and the flooding.
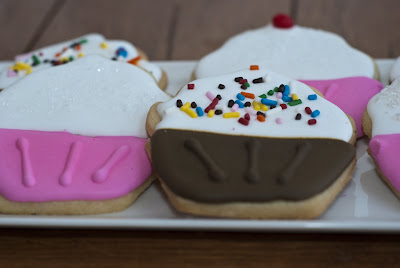
All in all, I think these came out pretty good. I was pretty happy with them. Once thing I am not good at though (and don’t know if I ever will be) if keeping my work area (or myself) very clean while working. I really want to get better at this. I feel like things get so messy and there is so much to clean up that when I am all done I sort of regret the whole process because it takes me just as long to clean as it did to make all the cookies! :-( This time around I even ended up with royal icing on my lucky hat. I suppose maybe that makes it even luckier.
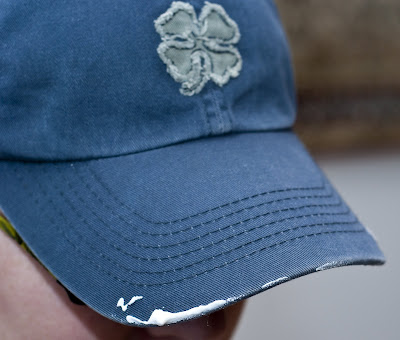
Luckily I was able to clean my lucky hat without to much trouble. I then decided to package up my cookies. Not only was I goign to send them to my mom, it was also a freind’s birthday and a few of us had a plan to go to a movie. So, I figure I would bring along some birthday cookies. I packed them up and secured them with some curling ribbon.
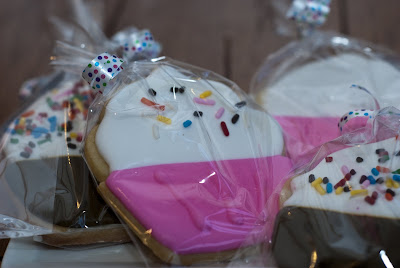
When I talked to my mom she said that they made it to NY okay. They didn’t break too much. We had a few of them around for a few days and I actually think they actually tasted better as the days went on. I thougth they might start getting stale, but to my surprise they didn’t. I  will definitely make cookies like this again. I was thinking I might do some shamrocks for St. Patrick’s Day, but I’m not sure if I will have time…. Next week is a little busy since it is the first week back after Spring Break and I am leaving for a conference on Friday. So, we’ll see.

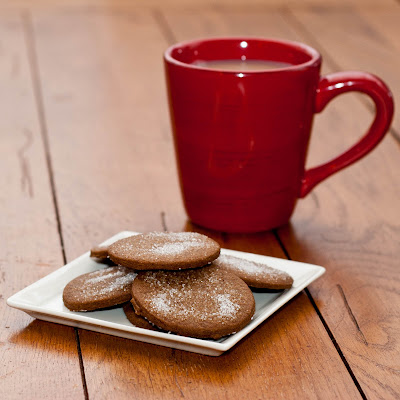
This time around the BAKED  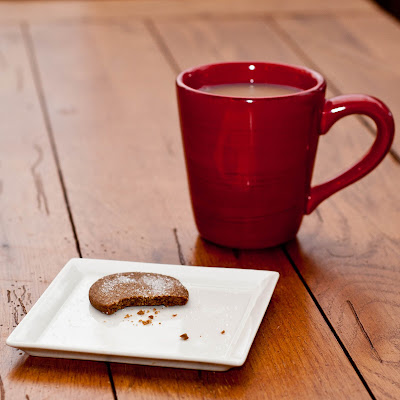 choice was some cookies, speculaas to be exact and it was co-hosted with Baked Sunday Mornings, another  group of bakers baking through BAKED Explorations. I wasn’t sure if I was going to bake along this time because I wasn’t too excited about these cookies, but I figured… why not, especially since I had all of the ingredients on hand (except for the orange zest which I ended up leaving out). I do agree that these made the perfect snack to enjoy with a cup of tea. My husband and I are big tea drinkers and not only was this a great snack while I finished re-reading the Hunger Games (can’t wait for the movie!), we were able to enjoy a few of these with our afternoon cup of NYC Breakfast yesterday. This recipe was super
 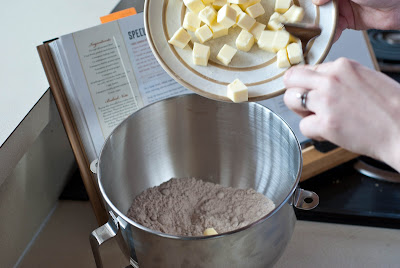 easy. I didn’t have a pastry cutter (should probably get one of those one day), so I just used a large fork to get all of that  butter into my dry mix. I guess this was the hardest part. I didn’t seem to matter too much. Once I got it into a ball and wrapped I put in the fridge for a little over 60 minutes. After that it was time to roll, literally!  I’m not sure that these were a 1/4 in. thick as suggested. I think they may have been a little on the thin
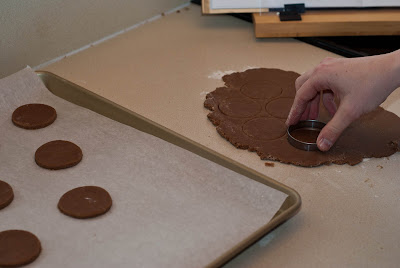 side since I got more cookies than what the recipe said I would. I’ve thought about buying those cookie slats because I feel like I never get the dough the right thickness. I guess if I start making more cookies I might invest in those. I ended up just using my round cookie cutter. I think the cookies were a pretty good size. After they were on the cookie sheet I sprinkled each one with some William-Sonoma White Sanding Sugar . We enjoyed some of these a few minutes afterÂ
side since I got more cookies than what the recipe said I would. I’ve thought about buying those cookie slats because I feel like I never get the dough the right thickness. I guess if I start making more cookies I might invest in those. I ended up just using my round cookie cutter. I think the cookies were a pretty good size. After they were on the cookie sheet I sprinkled each one with some William-Sonoma White Sanding Sugar . We enjoyed some of these a few minutes after 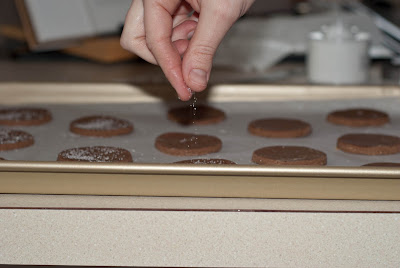 taking these out of the oven. I think I actually liked them the best when they were a little warm. I have always been more of a soft, rather than hard, cookie fan.  If you are intrigued by these speculaas and want to make them yourself, you can find the recipe here. Or, if you just want to check out the other baker’s links go to Club: BAKED!
taking these out of the oven. I think I actually liked them the best when they were a little warm. I have always been more of a soft, rather than hard, cookie fan. Â If you are intrigued by these speculaas and want to make them yourself, you can find the recipe here. Or, if you just want to check out the other baker’s links go to Club: BAKED!

Yes – I am still backlogged, but I thought I would put up this more recent endeavor… I saw these Cookie Cutters a few weeks ago on the Williams-Sonoma website. I don’t know why I was on the Williams-Sonoma site (we don’t often shop there because it is pretty expensive). I was probably looking to see if the amazing Breville Tea Maker had come down in price. Anyway, they had some really cute cookies cutters called Message-in-a-Cookie Holiday Cookie Cutters. I thought about driving to Williams-Sonoma before Christmas to see if they had these, but didn’t. Then, we got a Christmas gift from there and it came with a $10 gift card. So, between Christmas and New Years we decided to check it out. I ended up getting the non holiday version of these cutters – I thought they would be more versatile. Here is the link and these ones are still available online – the holiday ones are not (but you might be able to find them discounted in the store). Anyway, I was a little skeptical about these actually working. So, I figured I would try them out right away since Josh and I were going to try to do some no carb/no sugar eating for a while after New Years…
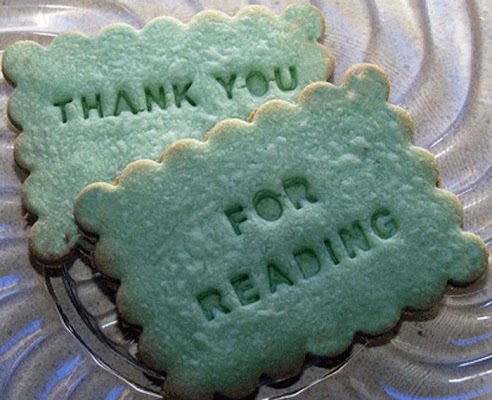
So, it came with three cutters and within each cutter it has a little thing that you press down that imprints letters on your cookie. It comes with some pre-made phrases like “Thank You” and “I Love You” and then it comes with 3 sets of alphabet letters (no numbers unfortunately).
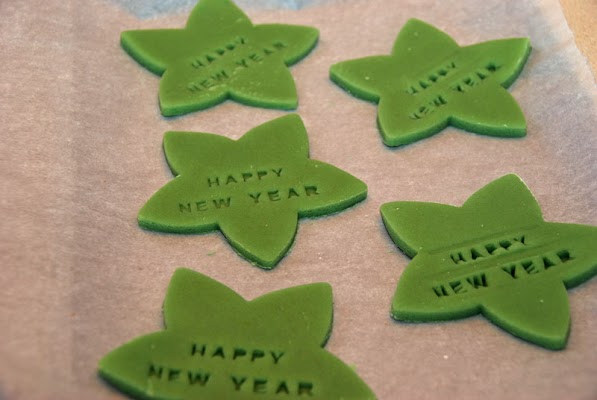
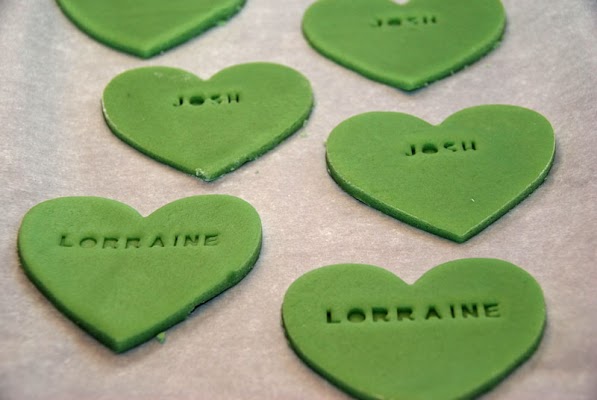
I followed their recipe and made some green sugar cookie dough. I cut out the cookies and then used the imprint to create some Happy New Years stars and then some Josh and Lorraine hearts. Here is what they looked like before I put them in the fridge to chill for 20 minutes or so… As you can see on one of those New Years stars… if you push too hard you can see the imprint of the lines that the letters slide into.
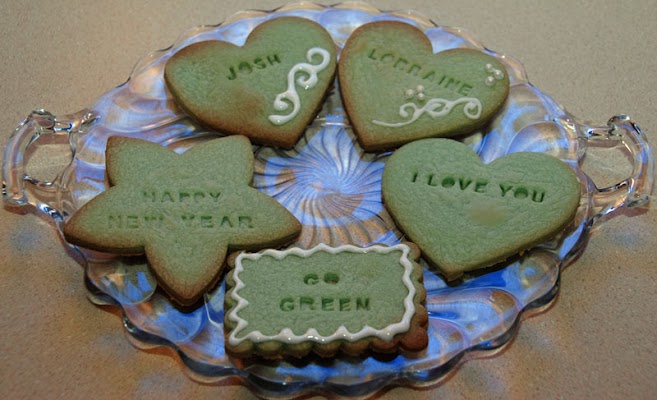
I made a few others with some scraps I had including a “Go Green” one since the dough was green (and for MSU of course!) and plopped them in the oven. Here is what they looked like when they were all done. I cooked them for a little too long. You can see the brown on the edges. Once they were cooled I then did some decorating on them just to see what it would look like… not too bad for a first time… I guess these do work.
And… last but not least…. this ones for you!
