Archive for Cakes
January 19th, 2012
Wow! It has been a LONG time since my last post. Since I officially defended my dissertation (yay #1) and landed a job at the University of Nebraska for the fall (yay #2), I am hoping I will have more time to bake and blog…I know I am a little late with my CLUB: Baked post, but better late then never. I actually made this last week, but then we went to Chicago and I forgot to bring my photos. Thanks to Jess from the Saucy Kitchen for picking this recipe – Mississippi Mud Pie (A) also known as the coffee ice cream tart! There are actually two versions of this in the BAKED book, hence the A.  You can find the recipe on the Saucy Kitchen blog right here.
I thoroughly enjoyed this pie! I have never been a huge coffeee ice cream fan, but this was really tasty. I probably could have eaten the whole thing myself, but luckily I had a meeting that I could take this to, so that didn’t happen! Like many others I could not find chocolate wafers (I have looked for these for other recipes and can never find them). So, I also used oreos with the cream scraped off.
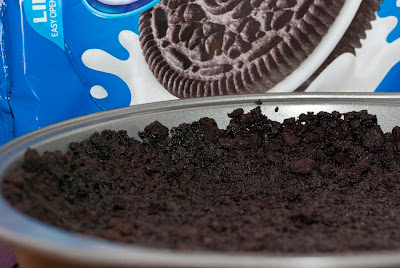
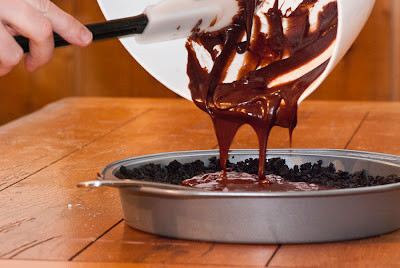
I have always been a fan of those oreo ice cream cakes so I was pretty sure this would taste good and it did not disappoint. The next layer was probably my favorite. That chocolate fudge layer between the cookie crust and the ice cream. It added a lot of flavor.
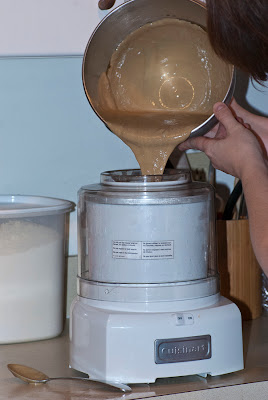
I decided to make the ice cream myself. It took me a while to find the espresso powder, but when I finally found a local heath food store that carried it, the brand they had was the one recommended in the BAKED book. I didn’t include the Kahlua, mostly because I didn’t have any and didn’t want to buy it just for this recipe. Now that I think about it, maybe this was my favorte layer… I don’t know. As I said before, I have never been a coffee ice cream fan, but this was some good ice cream…. This could also be due to the fact that for the week before this I was trying to eat well and hadn’t really had any sugar. So, maybe I was just bound to like this!
I think I overfilled my pie a bit or didn’t have the cookie crust come up on the sides enough because once I added my ice cream I couldn’t see the crust…
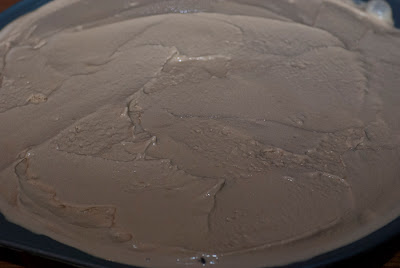
Finally – time for the last  layer. The fudgey gooey chocolate on top. I decided not to add the nuts. I am not a big nut fan.
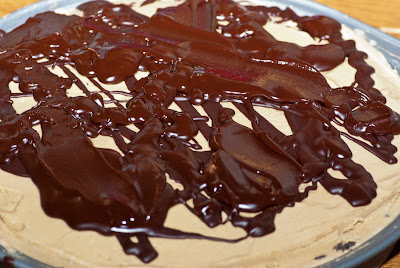
I loved this pie and reading everyone’s posts because it made me think about all the possibilities of ways to change this up. I can’t wait to make a different version of this! If you are interested in seeing the other posts, you can check them out
here.
October 3rd, 2011
I have always been a big fan of ice cream cakes. They just seemed more special than other cakes and I think that is because we never had them. I mean, my mom always baked cakes, but who makes their own ice cream cakes? It just seemed to be a weird thing to make your own ice cream cake or something. So, on birthdays we would often have ice cream cakes. I LOVE ice cream cakes. So, I decided to be crazy and actually attempt to make my own ice cream cake. Searching on the Internet I came to realize that a homemade ice cream cake usually does not involve homemade ice cream… well then, I thought, how is that homemade? That seemed to be cheating if you ask me. So, I decided that I would use one of the recipes (this one here from the Food Network site) that includes store-bought ice cream, but just make my own… Then, Josh decided to give me my birthday present a few days early…
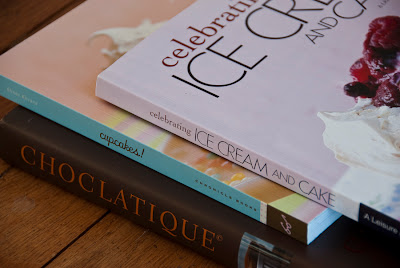
Look at those… not only do I love dessert cookbooks one of them had ice cream cakes (he knew I was going to attempt this). I looked through the book and decided on two ice creams I would use and since I wanted a fairly traditional ice cream cake the first time I attempted this I decided to stick with the one from the Food Network site. I mixed up the ice cream batter the day before and this morning started the first batch – the vanilla in my Cuisinart.
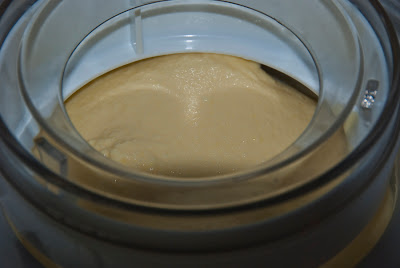
While that was mixing I got my springform pan ready for the Oreo Cookie crust – just some crushed Oreos and some butter.
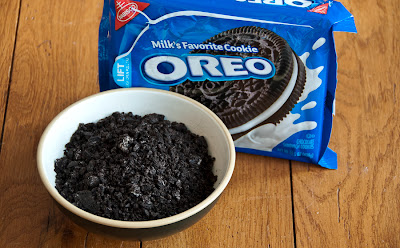
I love Oreo crusts! After getting the crust into the bottom of the pan I created the first layer of vanilla ice cream and put that in the freezer while I made the chocolate ice cream. Once that was ready and chilled for a while I added that to the vanilla layer.
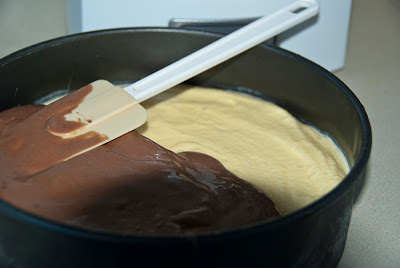
After that was on I added a layer of Oreo crumbs and then let it sit in freezer for a little bit before adding the last layer of vanilla ice cream.
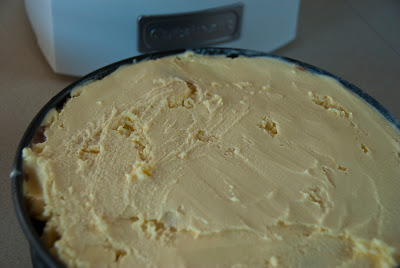
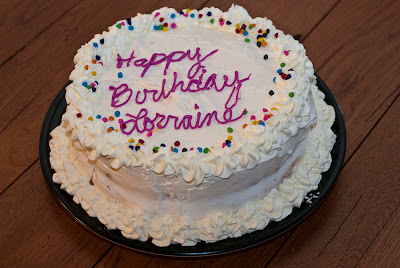
Once that was on, it had to freeze for another two hours. Once it was ready I popped off the outer part of the pan and added  the homemade whipped cream. I coated the whole cake with about 3-4 cups of whipped cream and then piped on some decorative spirals. I decided to sprinkle some multi-colored chocoalte chips and write a little Happy Birthday message for myself. Not bad for a first attempt!
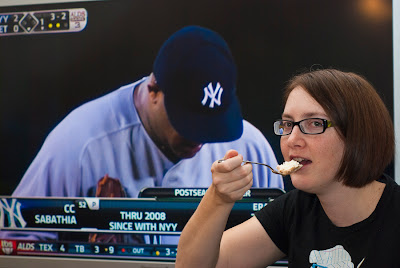
I couldn’t resit having  a piece of my cake with my buddy CC! How nice of him to stop by during Game 3! Go Yankees!
September 2nd, 2011
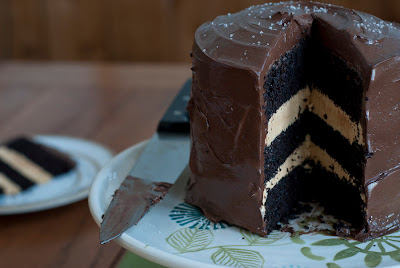
As you can see above I decided to go a bit out of my comfort zone and bake a cake rather than cupcakes for our anniversary last week. I started using Pinterest to keep track of the things I find on the Internet. [It is actually pretty neat. You can follow me on Pinterest by clicking here.] Anyway, I found this great blog, Sweetapolita on someone’s board. Not only does this blog have amazing sweets, but the photos are great! I had never made a 3-layer cake (at least I don’t think I have – If I did, I guess it wasn’t very memorable).  So, when I saw this Salted Chocolate Caramel Cake I had to give it a try. I was a big fan of the Chocolate Salted Caramel mini cupcakes (you can see my post here) from the Martha Stewart Cupcakes book so I figured I would really like this cake. And boy did I…. I started by baking three 6 in layer cakes. I had to buy two more 6 in. round pans (so expect to see a lot of 6 in layer cakes!).
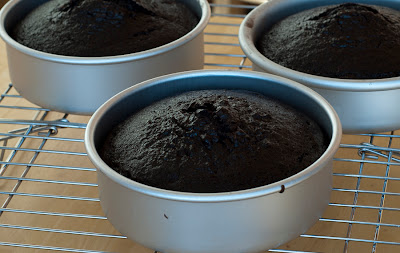
I got some serious doming on these cakes. I think it is because our oven doesn’t heat very evenly. I can’t remember if I placed these on some cookie sheets, but I read somewhere that it might help. It wasn’t a big deal though because I was going to layer this and so I could just cut the dome off. This cake was filled with a salted caramel buttercream. So, first I had to make the caramel. I love caramel. It looked so good! I had to restrain myself from just eating it all right from the pot I made it in. Let me tell you, it took some serious will power!
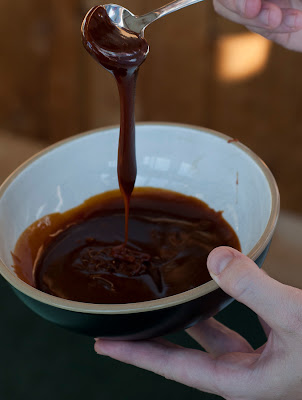
Making the filling was a little complex, but it was well worth it. After making that tasty caramel I set it aside to cool. In my trusty Kitchen Aid mixer I creamed the butter and then had to transfer it to another bowl, wipe the mixer clean with lemon juice, and put the egg whites and the rest of the sugar in the bowl over a pot of simmering water… Lots of work over simmering water for this recipe… Once this got to about 160°  I took it off and placed it back into the mixer and whisked for about 5 minutes until stiff peaks formed. Once this was done and cooled I added the butter back into this a cup at a time.  Finally I was able to add that cooled caramel. This filling was so good!
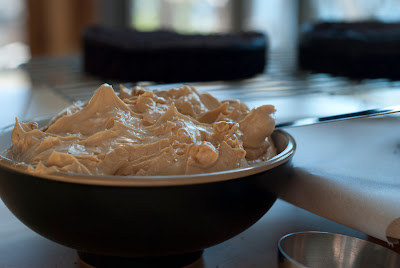
I then made the dark chocolate fudge frosting. In the recipe there was the option to make a chocolate swiss meringue buttercream which was supposed to be less dense, but I went with the chocolate fudge frosting. This was very similar to Martha Stewart’s chocolate frosting that I have made many times before and think is one of the best chocolate frostings! Now it was time to start assembling the cake. I shaved the little dome off each layer and started to place the layers down and put the filling between each layer using an offset spatula. I didn’t have a cake turntable, but had a wodden turntable that I thought would be helpful so I assembled the cake on that. The filling part wasn’t as bad as I thought it would be.
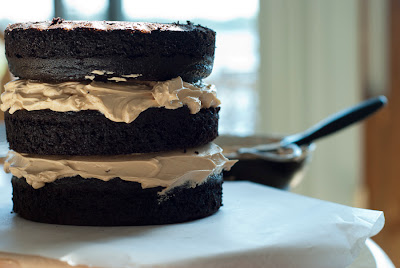
Once the filling was done I did a crumb coat layer with my chocolate frosting and put it in the fridge for a while. When it was ready I took it out and put on the final coat of frosting. Putting it on the turntable really helped when putting the final coat on. So now it was ready to chill in the fridge. Since it was our anniversary we decided we’d go to dinner. We had a
Groupon for this place Gracies’s which we heard was pretty good. So, we decided to go there for dinner. Right before leaving, I took the cake out of the fridge since the recipe said it should sit at room temperature for two hours before eating. When I took it out I sprinkled it with some more sea salt. Here is what it looked like before we took that first piece out.
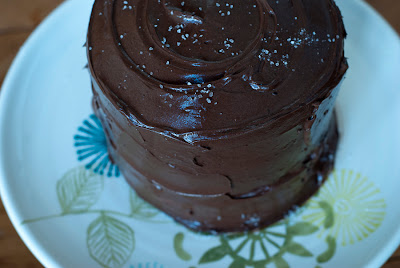
By the way, I got that cake plate at Meijer. It was on sale and it was perfect! I must say, this cake was not easy to make and at first I wasn’t sure all the work was worth it, but in the end I decided it was. I loved the taste and I think it looks pretty elegant. Here’s to many more good years with Josh and good layer cakes!
July 1st, 2011
I must admit that I made this NY-Style Crumb Cake a few weeks ago…. I just haven’t had any time lately to bake. We are leaving for Turkey next week and I still have a ton to do, but it was time to get this posted, so here it is! This is my first Club: BAKED post. Not sure if you read my post about joining Club: BAKED, but here it is. Karen from Karen’s Cookies, Cakes, & More who started the group choose NY-Style Crumb Cake for our first recipe. You can see her post here – I loved her idea of making these into jumbo cupcakes!  As a native New Yorker myself it was perfect! Not sure what the Baked Explorations authors would think about this comment I am about to make, but I will make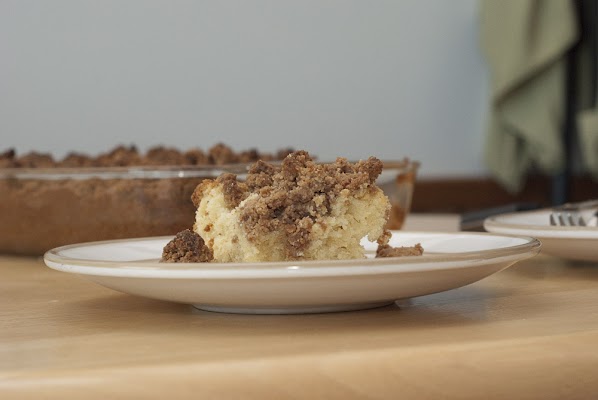
it anyway… it made me think about the Entenmann’s NY Style Crumb Cake. We used to eat that all the time. I made this the day before Josh had a meeting at school and so he was able to bring this with him. That was nice because it was too much for us to eat! Now this is not called a crumb cake for nothing – the pictures don’t really do it justice – the ratio of crumb to cake was over 50% for sure! Here is what the batter cake batter looked like before there was any crumb. I followed the recipe and used a 9 x 13 in pan.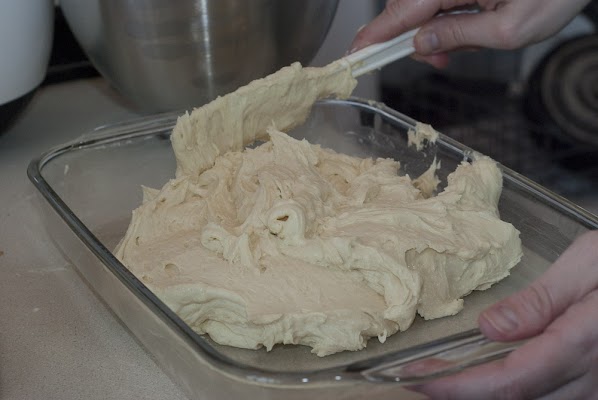 Other bakers were really creative and used muffin or jumbo cupcake pans – what a great idea! I decided to follow the little Baked Note about Renato liking huge crumb chunks and so I placed the crumb topping in the oven to dry out (maybe a little too much despite their warning). Here’s the before and after:
| Before
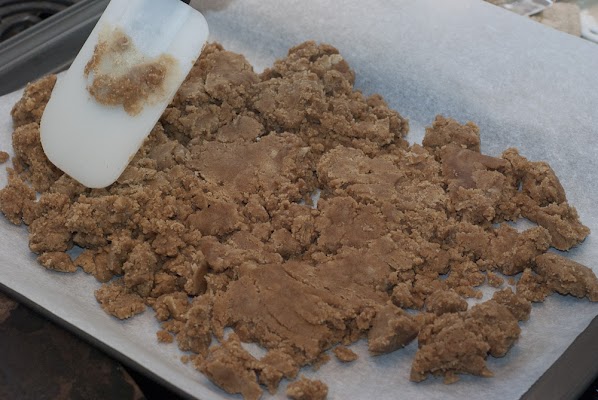
|
After
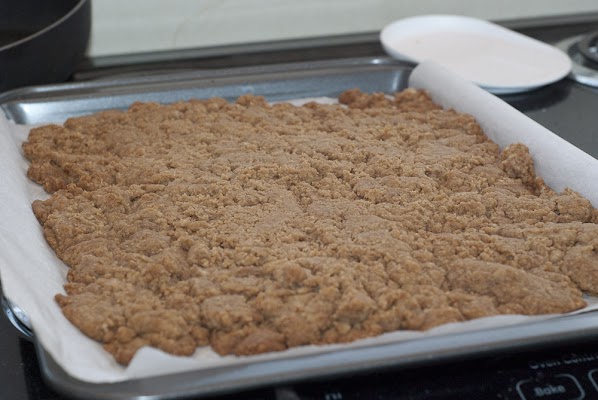
|
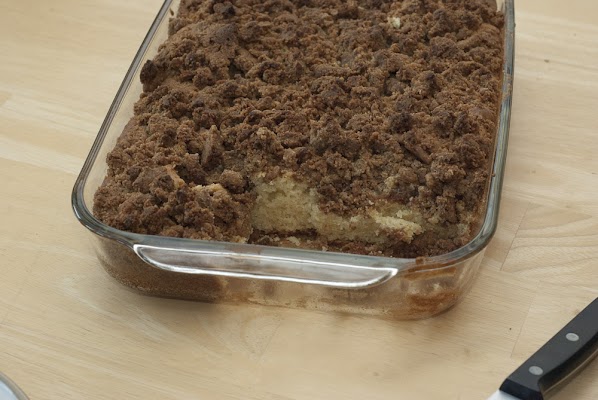
It doesn’t look too dry, but I guess since it got cooked again once I put it on top it got pretty crunchy. Next time I probably won’t do this part. Josh had some left overs from his meeting and I actually think it softened up a bit and tasted better 2 days after I made it! Anyway, here I am putting the crumb topping on. There was so much crumb topping!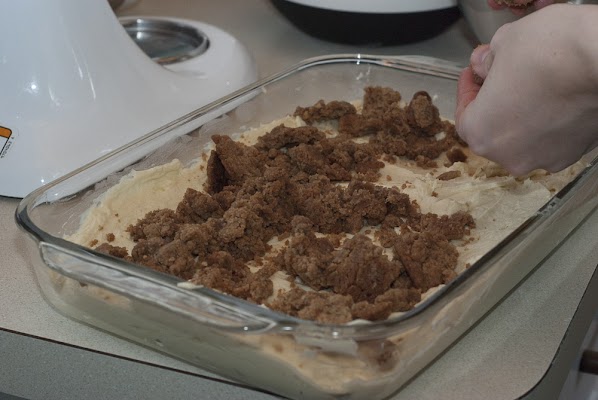 And finally… here is the final baked crumb cake (minus a piece or two). I am definitely going to enjoy baking along with everyone through this book. Check out Club: BAKED to see all the other crumb cakes. Stay tuned for the next installment … Up next is Farm Stand Buttermilk Doughnuts. Since I’ll be in Turkey I made those early too, but I’ll still be posting those on July 15.
