December 31st, 2010

Ahh….. truffles. When I went to New York City for my friend’s wedding we decided to make truffles. She had taken a truffle making class and so knew all the ins and outs of truffle-making! As you can see from this first picture it was a bit of a mess! See that brown mark on the cabinet?  Yep – that is chocolate! We made the inside of the truffles the night before and had them chilling in the fridge. The next day we covered them in tempered chocolate by dropping them in this bowl you see at the left. I was then in charge of covering them. We did some toffee ones, some sugar/salt ones – those are the ones with the bluish color, and some powdered sugar ones. The salt ones were way too salty and the powdered sugar ones just didn’t really stay in ball-form. We loved the toffee ones though. They were good! The plan was to bring these to the rehearsal dinner, but then we forgot them. Oh well, I know that people were enjoying them here and there and they were definitely fun to make!   
December 31st, 2010


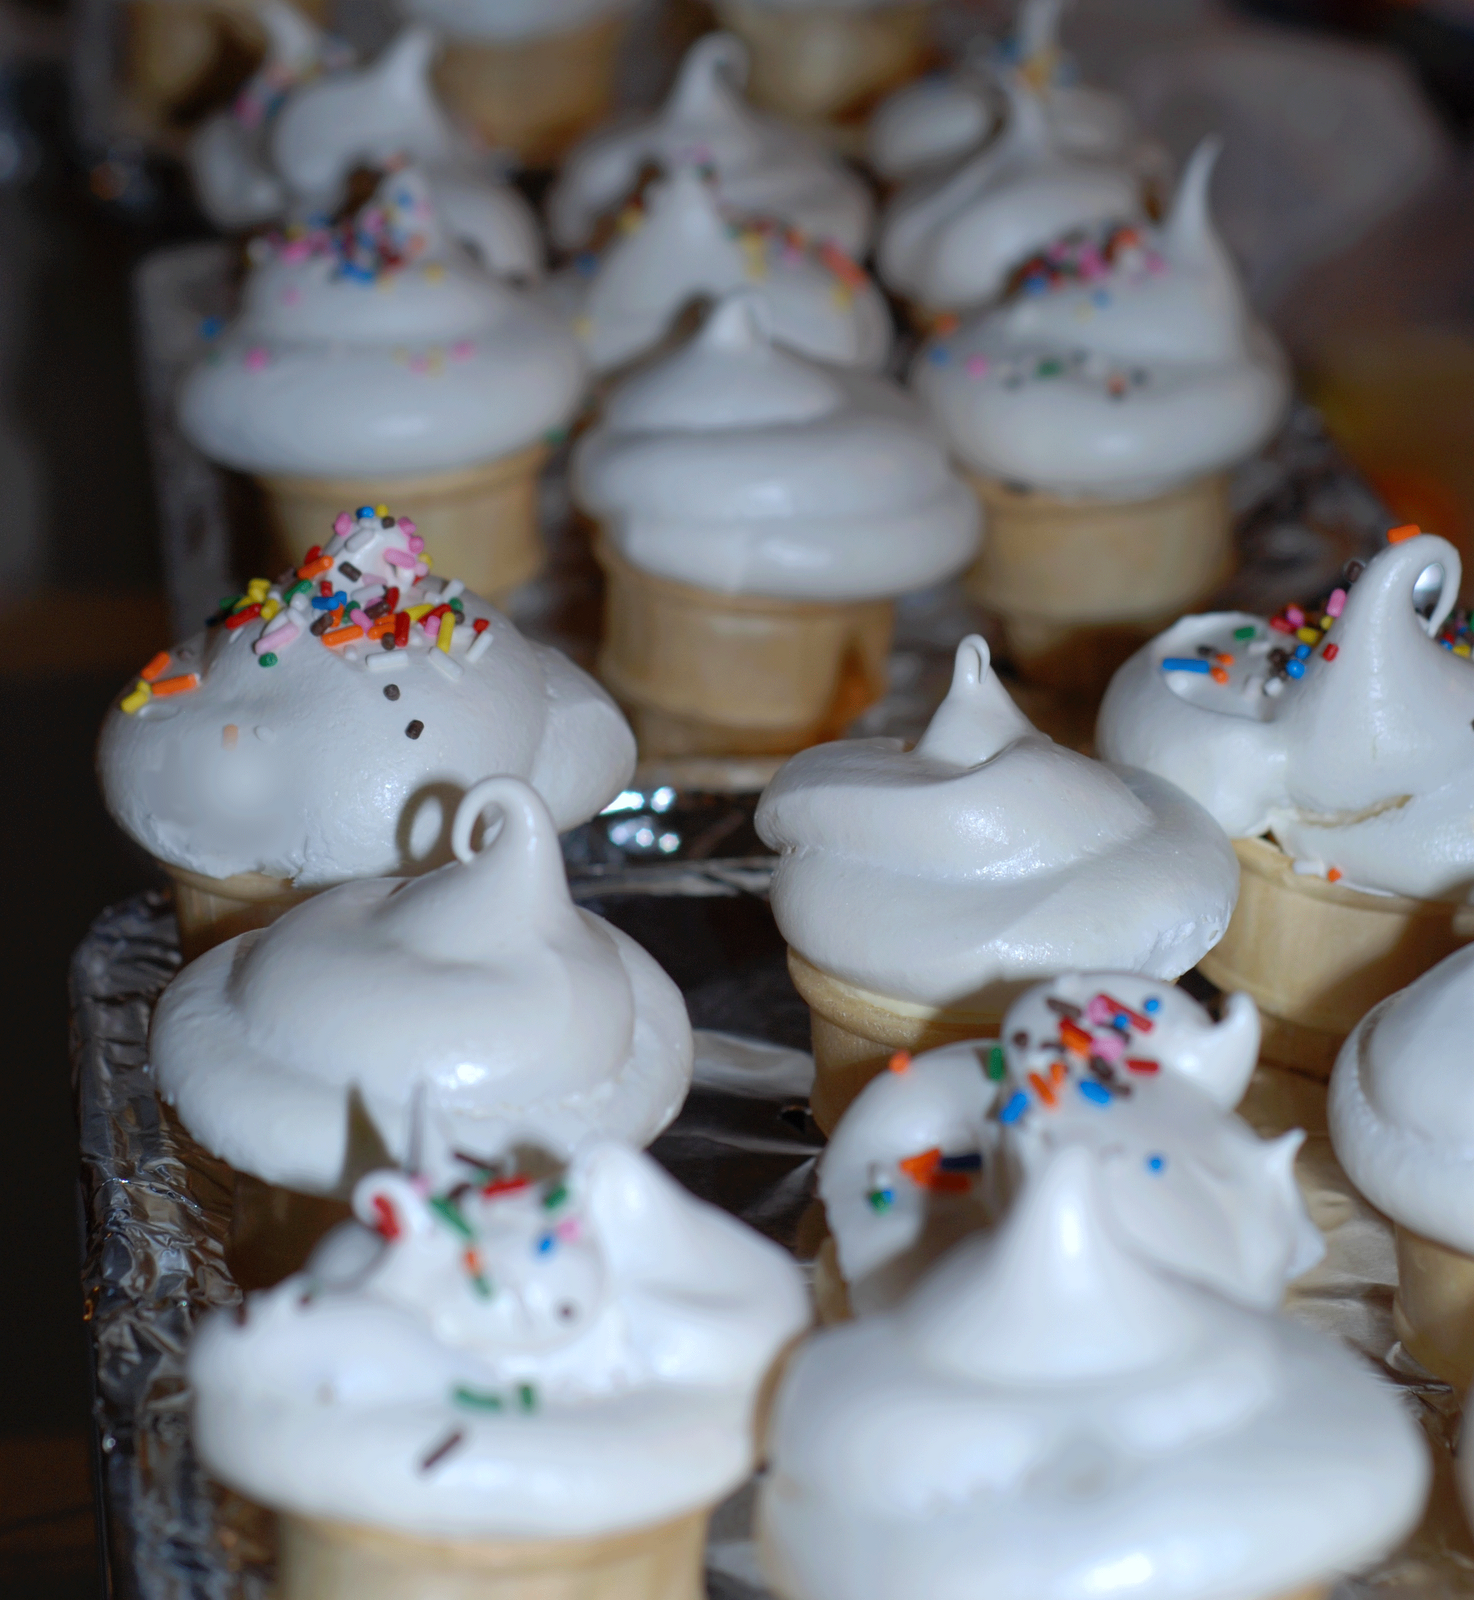
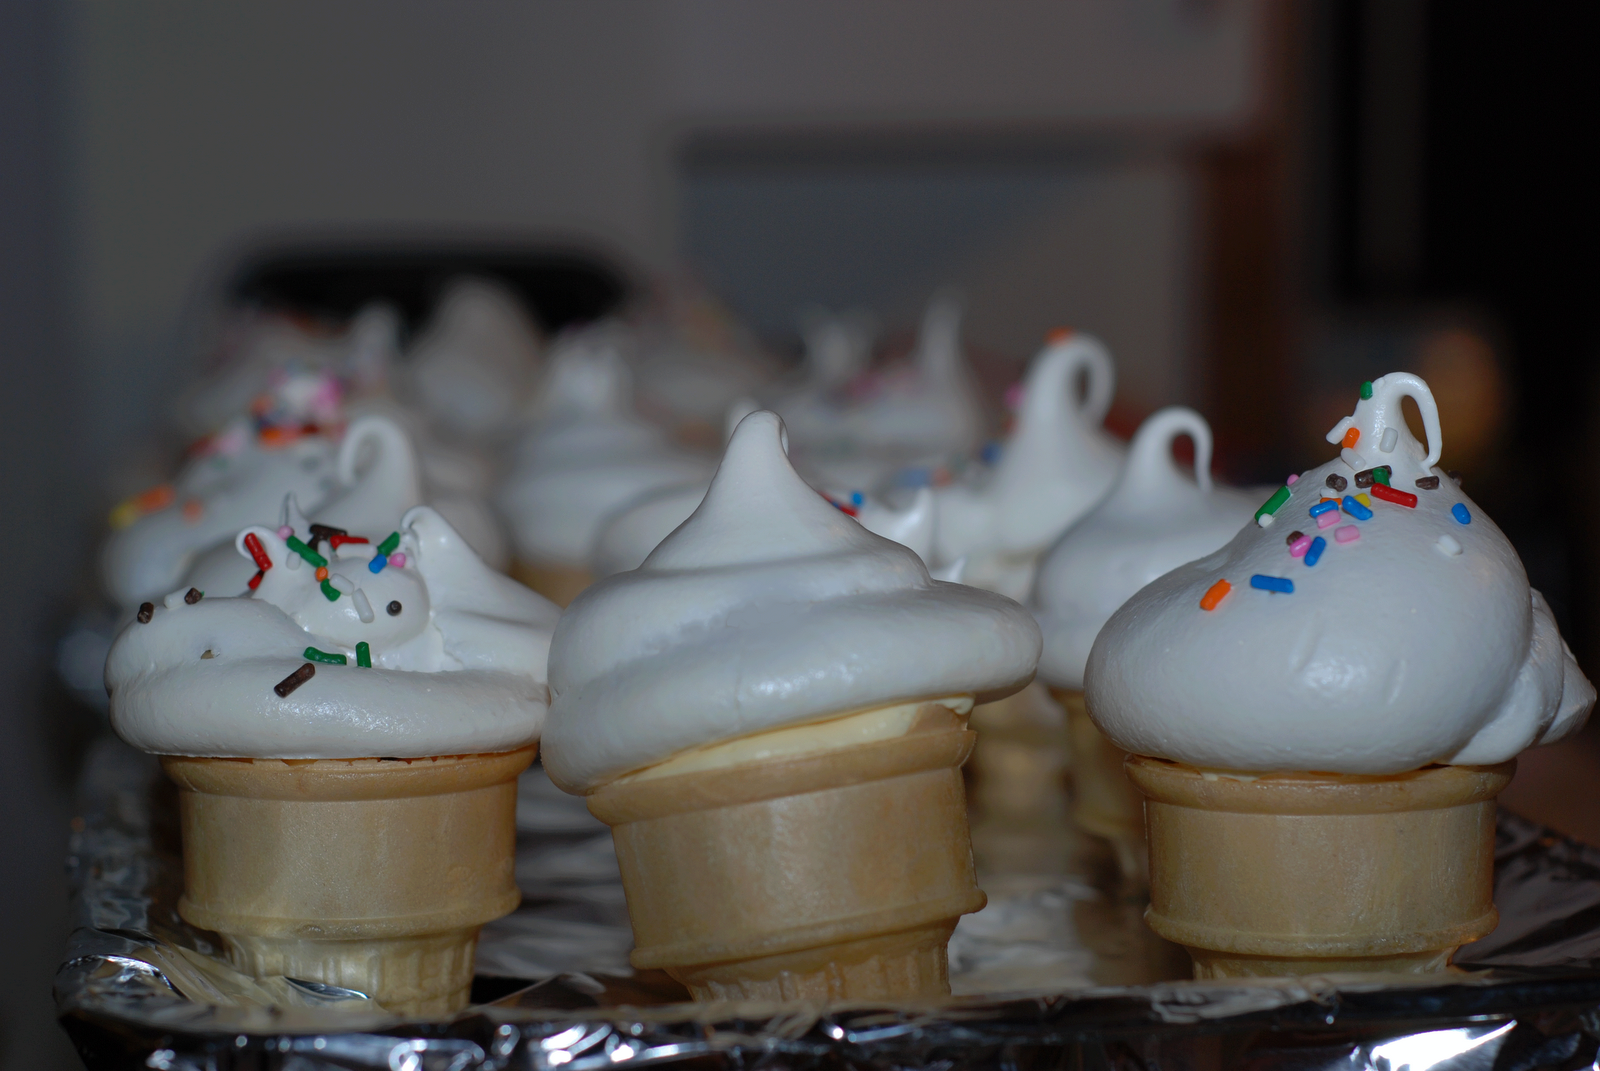
I am still catching up on posts and as you can see,  have done a lot of re-designing of the blog (including moving it to our website). It has kept me quite occupied for a while! Anyway, a few months ago I posted the Ice Cream Cake Cupcakes I made that looked like real ice cream cones. They were fun to make and looked cool, but were still more cake than ice cream. These, however were REAL ice cream cake cupcakes! I am a big fan of ice cream cake and so I decided to check out Cold Stone Creamery’s Website since there is one in Downtown East Lansing. I found that they had ice cream cake cupcakes! So, for my birthday we decided to get these. I was worried that they would be pretty expensive, but they weren’t too  bad… too bad it was so long ago that I don’t remember the cost. They come in a package of 6 which was perfect because there were two of each kind (Sweet Cream, Cake Batter Delux, and Double Chocolate Devotion) – one for me and one for Josh, They were all really good. I totally recommend them!
December 31st, 2010
 Happy New Year from PhDcupcaker! Doesn’t that look like me (even just a little)? I tried my best! We have had a website for a while, but haven’t been good about updating it – I guess that is one of our New Year’s resolutions! Since I got into blogging my cupcakes and other treats last year I thought it might be better to house my blog on our site. So, from now on you will find PhDcupcaker here at http://themalesfamily.com/phdcupcaker. I am going to try to be better about blogging. I hope you like the new design! I found a really great template by Gisele Jaquenod. You can find more of her free templates here. I then adapted it,  including adding my own images and menus. I hope you like it! The menu on the left side will allow you to go easily to the archives for different treats and sweet related posts. Not all of the buttons are operational yet because I am still behind in posts!
For those of you that followed my blogspot blog I’d love for you to follow this one. I won’t be posting on that one anymore. For those of you new to my blog please become a follower! Just click on the join my site button on the right.
December 11th, 2010
Wow! I am so far behind in posting! It has been a busy semester observing student teachers and working on my dissertation proposal. So, I haven’t been making cupcakes that much, but you’ll see a few posts in the next few weeks – some of which are me just catching up and some because it is the holidays and I’ve taken to making more sweets! :-)
So, way back in October a friend of mine bought me the
What’s New, Cupcake? book. For you cupcakers out there this is by the authors of the Hello, Cupcake book. You can check out their blog
here. Anyway, how nice was that to get this book! Yay! Right away I started flipping through the book trying to decide what to make. My birthday was coming up soon and I thought that I might try to make the apple cupcakes. They seemed interesting and I thought they were a good fit considering the whole teacher/apple tradition.
I thought they were pretty good. I followed the recipe in the book to doctor up a yellow cake mix. I added an extra egg and used buttermilk rather than water.
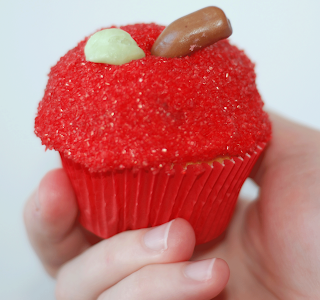
This is supposed to make the cake a bit denser and I think it did. I happened to have some red cupcake liners left over from Fourth of July. Perfect! I used my usual cream cheese icing and colored it red. I put a thin layer of frosting directly on the cupcake and then the interesting part about these was that that on top there is a mini chocolate frosted donut. You cut the donut so that it lays flat on the cupcake and then put it in the freezer for a bit so that it firms up. After a little bit I took them out and put more frosting on the top trying to get the frosting to go on so that it looked like an apple. Then I just dipped the cupcake in some red sugar. For the stem I used half a tootsie roll and I cut little leaves out of starburst candies. It did actually look like an apple although it tasted like a cupcake!
September 22nd, 2010
 Okay, so it was my friend Aaron’s birthday this past weekend. I had these grand plans to re-create something I found on the Charm City Cakes website (this is the “Ace of Cakes” bakery). Who was I kidding! I spend a week trying to figure out how I was going to re-create the TI-84 Graphing Calculator Cake you see below. I had some of it figured out – I even did some math to do this. I used my scanner to scan in my own graphing calculator. I then enlarged the image so that it was about the size of a 9 x 13 in. cake. I was then able to print it and use it as a template for cutting out my fondant pieces. That all worked out fine, but when it came to being able to write on all the little fondant pieces the only success I had was the white keys. For these I was able to use my black food writer. However, most of the keys are gray or black and I was not able to find a good way to write such small text on these keys since none of my food writers would work. Then came trying to get the right color gray fondant and being able to use this to cover the 9 x 13 in cake. I got the fondant to be on okay gray color, but man of man, did it look pretty bad when I put it all on the actual cake. Believe me – nobody would have wanted to eat it! :-) Sorry, no pictures! So, I decided I just couldn’t do this. All hail
 Ace of Cakes! You are amazing! How cool is this cake?!?! So, I decided that since I agreed to make the cake that I would quickly swap out the calculator cake with some birthday cupcakes instead. These are my usual chocolate cupcakes with cream cheese icing. I decided to do something different than my usual star tip for the icing. I piped these on without a tip to create little mounds of icing. I then used my Wilton Alphabet and Number Fondant Cutters to cut out the letters and numbers for “Happy 31st Birthday Aaron!” These were a little rushed, but in the end I think they were cute and people thought they were tasty. So, that is a plus! Here’s one more picture – a close up. From now on, I think I’ll stick to cupcakes, or at least simple cakes for now! :-)

September 6th, 2010
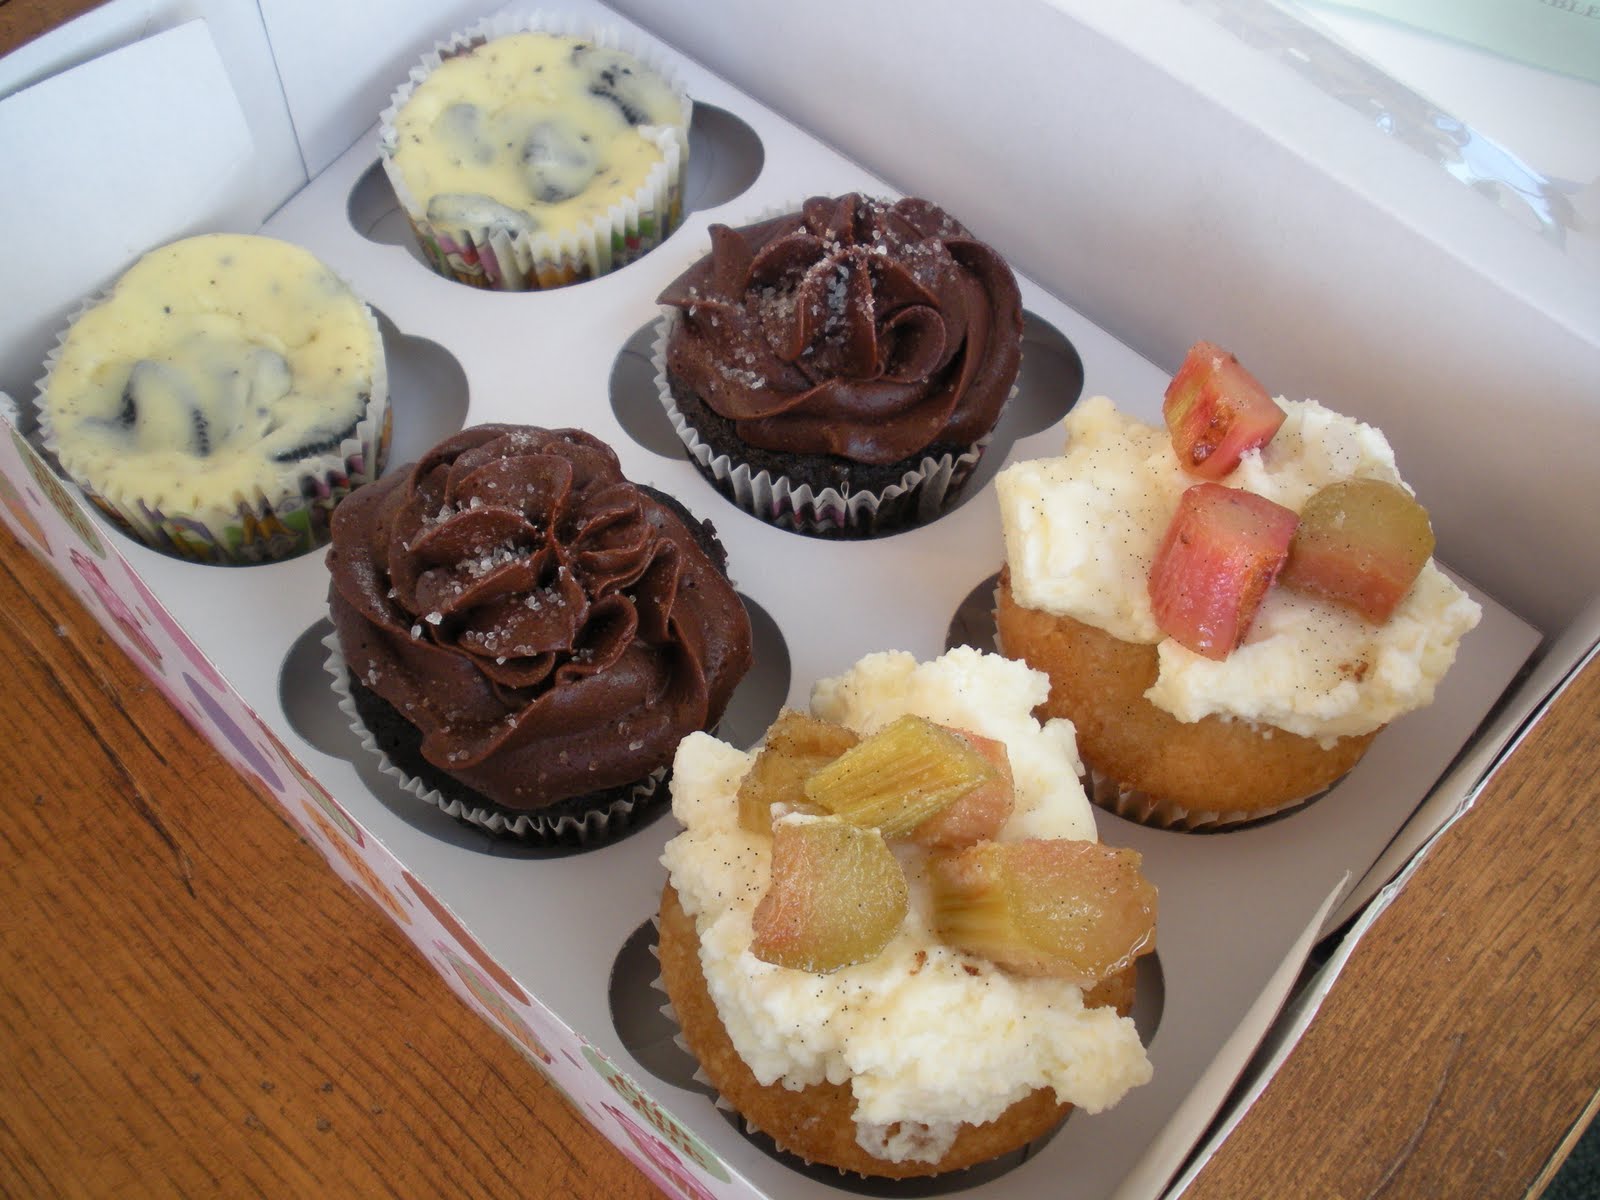
 In honor of the summer ending and someone’s birthday I decided to make a trio of cupcakes; one of which I have made before and two which were completely new. All of these come from Martha Stewart’s Cupcakes. From left to right we have Cookies and Cream, Chocolate Salted-Caramel, and Rhubarb with Whipped Cream. I also decided that since I was making three different cupcakes, to half all of the recipes (except for the Rhubarb because as written it made 16 and we were really excited to try these ones). It was nice to not have a million cupcakes laying around. We can only eat so much. Well, I should say we don’t want to eat too many! :-) The Cookies and Cream were so easy and really
 tasty! I followed the recipe as it was written in the book, refrigerating these overnight. Sorry the picture is a little blurry (I didn’t have my official photographer today). Look at that Oreo cookie at the bottom. That was a hit! The person who received this box of cupcakes for her birthday said these were her favorite of the three. I like that these are different – little mini cheesecakes – who doesn’t like cheesecake? Anybody?…?… That is what I thought. I won’t say too much about the Chocolate Salted-Caramel because I have made and posted these before. This time I made regular rather than minis. I wasn’t too happy with the caramel filling this time though. The first time I burned it and had to start all over. The next time it was okay, but the caramel was really grainy – not the gooey kind I had the last time. Oh well! The icing was still to die for – one of my favorites!
 Finally – the piece de resistance – Rhubarb Cupcakes with Whipped Cream! I decided to try these because someone had just given me fresh rhubarb from their garden. I first planned on making rhubarb crisp, but then I thought – why not try a rhubarb cupcake and Martha just so happened to have a recipe for this one. I created the sauce using a vanilla bean just like Martha describes. I thought I wasn’t going to be able to find one, but finally found a little tube of two whole vanilla beans at Foods for Living. These were not cheap! I debated on just using vanilla extract, but I decided to try it. If I ever need vanilla beans again I’ll be buying them over the Internet since you can find them much cheaper. These definitely added something. I am not sure about the taste, but they definitely gave the sauce the little black specks that you see in the picture. Someone said that they could really tell that I
 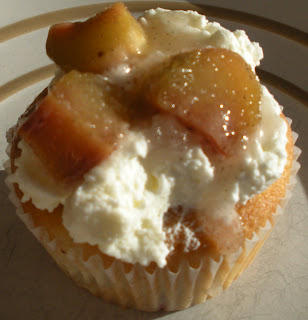 used a real vanilla bean, but I’ll have to try these with extract to compare. This same person said that she thought this was the best cupcake she ever had! How nice! I think just the fact that these were rhubarb made the difference. I don’t think they had the same sourness that I have had before with rhubarb, but they sure where tasty!
August 23rd, 2010
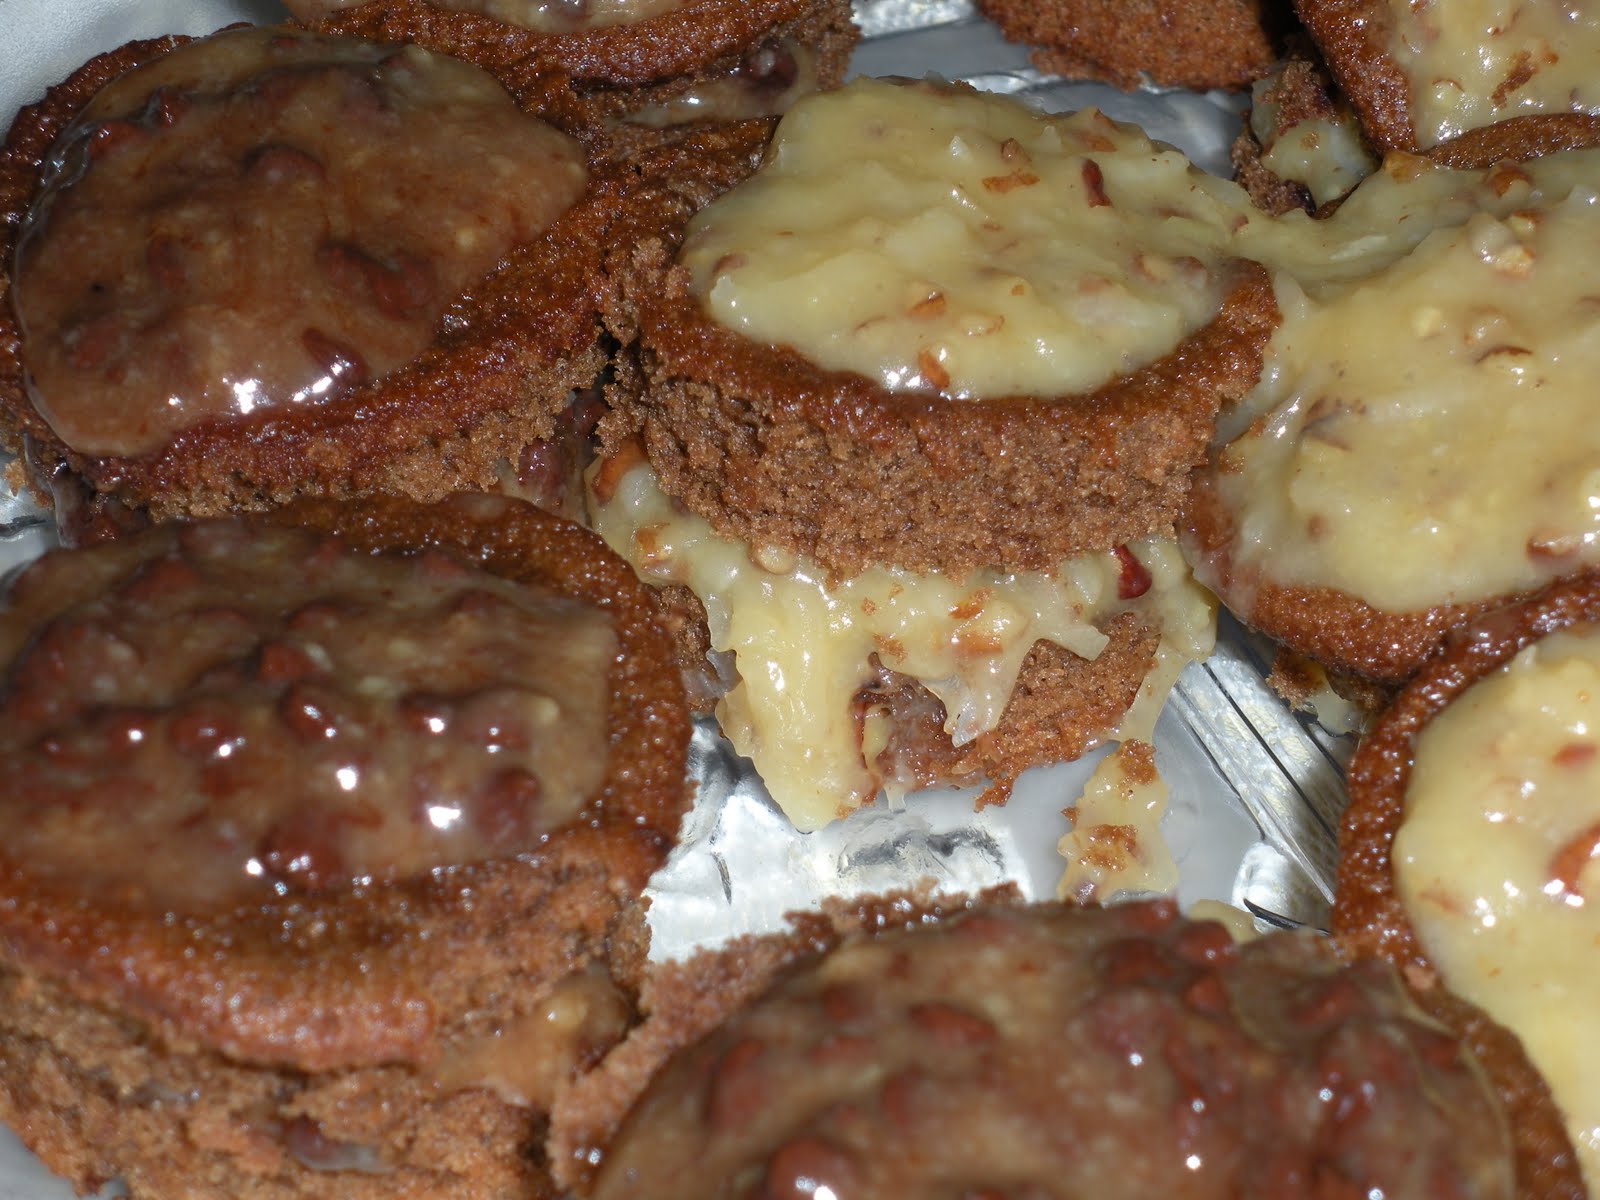
 Josh loves German Chocolate cake. It is one of his favorites and he often has it on his birthday. I decided I would make this for his birthday this year and then thought – why not try cupcakes. I had seen these in my Martha Stewart Cupcake book, but decided to use the recipe that Josh likes from the Baker’s German Chocolate, but instead of a three-layer cake make cupcakes instead. Making cupcakes also meant that I could make some with coconut and pecans and some without since I am not a big fan of either of these, but Josh really likes the coconut. Since the icing wasn’t very thick without the coconut and pecans I decided to add some mini chocolate chips after the icing cooled. The chocolate chips melted a little, but helped to make the icing a bit more chunky so when I put it on the layers it didn’t just side right off. I think I should have made a few more coconut ones though since Josh liked those!
August 12th, 2010
 Okay…this is not a post about anything I made, but being a math person and all I thought I would post about this picture. It has to do with math and cupcakes, so… I figured it was appropriate :-) My friend, another math ed PhD student at MSU, sent me this. His brother took this picture of the giant cupcake box at a Menard’s. So, if a Giant 3-D Cupcake is a huge hit every time, what about other cupcakes? My friend asks the question, does this company also make planar, linear, or hyperspace cupcakes? I wonder……
August 9th, 2010
I thought I would try two new things – a new cake (yes – cake, not cupcake) experiment and a new Blog experiment. First, I hope the Blog experiment works. I created a slide show of pictures from my Cake Tatoo Experiment. You should see this above – I hope. The Cake Tatoo Experiment was something I thought I would try for a cake I was bringing to a friends house for a BBQ. It was not a success, but also not a total disaster. I used Duff’s Cake Tattoo. Duff is the cake designer from Charm City Cakes that is featured on the Food Network show Ace of Cakes. I am bummed that I can’t watch this show. We don’t have cable (we just get over the air stations) and they don’t air this on hulu. I also can’t find the DVDs on Netflix. Oh well! Anyway, the Cake Tattoo is a thin piece of edible art that you place on an iced cake. I am a bit miffed because in this video (If you are interested I think you’ll have to click on the Watch Video link and scroll down to view the Graffiti and Killer Cake Bling video) Duff said it will totally look awesome. Not so much, but I won’t hold it agaisnt him. I mean, if he did it, it probably would look totally awesome! Anyway, when I did mine my base cake was too small and so the cake tatoo wouldn’t exactly fit. So, I had to cut the bottom a little. Also, I could not get the seams right. You can see that in the pictures. I was happier with the upper tier. It didn’t look too bad. I then used blue icing with a decorator tip to add some extra pizazz! I was a little too embarrassed to bring this to the BBQ because Josh said it looked like he was eating paper. It may have looked a little wonky, but it tasted okay (for days….). Maybe I’ll have to just try Duff’s Cake Graffiti products. Maybe spraying designs would be easier… Stay on the lookout for that at some point (maybe).